Looking to beat the heat without spending a fortune on an in-ground pool? Let me introduce you to one of the best DIY projects I’ve ever tackled: building a stock tank pool. Not only is it simple and affordable, but it also delivers serious summer vibes.
Whether you’ve got a small yard, a sunny patio, or just big splashy dreams, this backyard upgrade checks all the boxes. It’s easy to maintain, endlessly customizable, and packed with charm. In this guide, I’ll walk you through the entire process — from the full materials list to pro tips I learned along the way — plus a few fun ideas to help you make it truly your own.
You Might Also Be Interested In:
How to Build a Stock Tank Pool (Step-by-Step Instructions)
Step 1: Choose Your Location
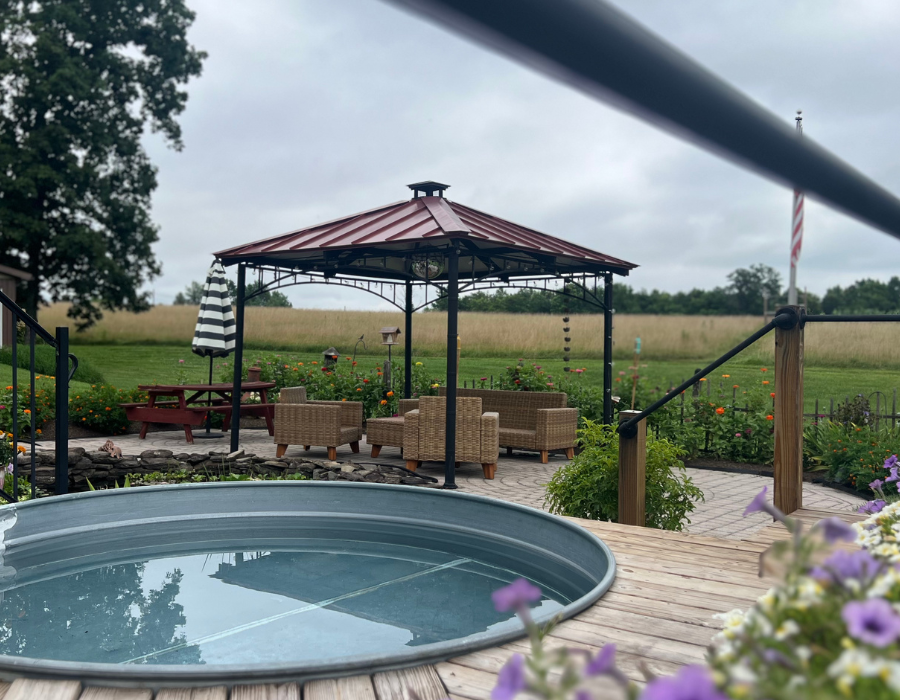
I picked a spot in the yard that had plenty of sun, easy access to the hose, and enough space to lounge nearby – basically, the ideal setup. However, the ground wasn’t perfectly flat. So, to fix that, I spread out some sand and used a level to even everything out before placing the stock tank. Taking the time to prep the base properly made all the difference: it keeps the pool stable, ensures proper drainage, and, most importantly, gives you peace of mind knowing it’s not going anywhere.
Pro Tip: Avoid placing it directly under trees to reduce debris in your water.
Step 2: Gather Your Supplies
Here’s what you’ll need to set up your DIY stock tank pool:
Essential Materials:
-
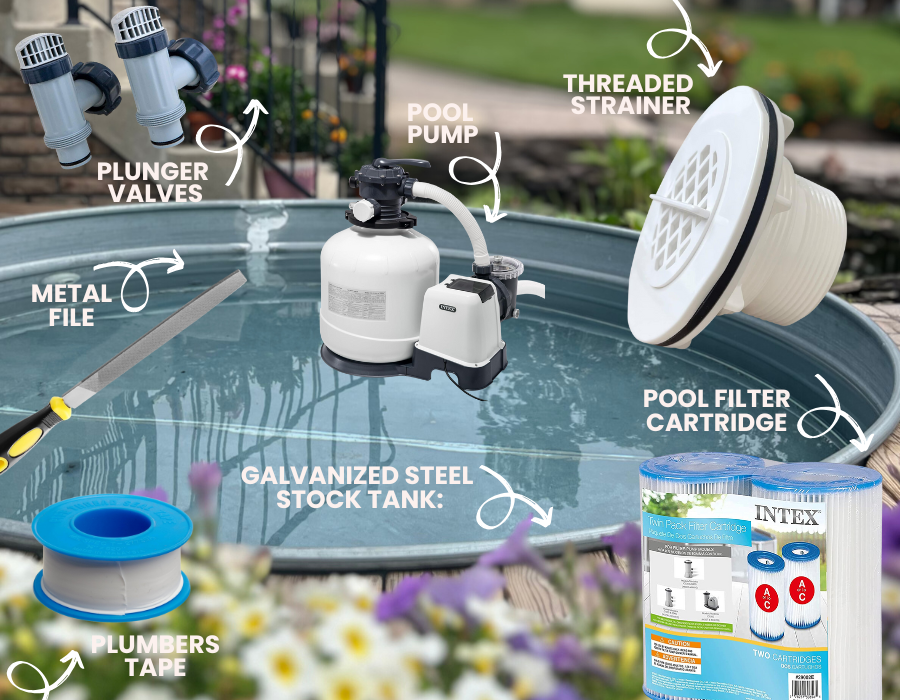
Galvanized steel stock tank: I grabbed my galvanized steel stock tank from Tractor Supply for under $800. They usually carry common sizes like 6 or 8 feet, and you can also find them at Home Depot or local farm stores.
-
Intex or Bestway pool pump/filter (1,000 GPH or more)
-
Hole Bit Saw Drill (typically 2.75–3 inches): If you’ve got a dad (or friend) who’s got a toolbox full of gadgets, now’s the time to call in that favor.
-
Chlorine or bromine tablets (for water sanitation)
Step 3: Prep & Drill for the Pool Pump
To keep your water fresh and clear, you’ll need to install a pump system. This involves drilling two holes in the tank — one for water intake and one for return.
Instructions:
-
Start by measuring and marking two spots on opposite sides of the tank, about 6–8 inches from the bottom. These will serve as your intake and return ports for water circulation. It’s important that the marks are directly across from each other to ensure even water flow and reduce strain on the pump.
Pro Tip: Use painter’s tape to mark your drill spots — it gives you a clean visual guide and helps prevent the drill from slipping.
-
Once marked, grab your hole saw drill bit (typically 2.75–3 inches depending on your pump fittings) and carefully cut out the two openings. Using a power drill makes this step much easier. If you have a handy parent, partner, or friend around, now’s a great time to ask for backup!
Pro Tip: Wear safety glasses and gloves while drilling. The edges of galvanized steel can be surprisingly sharp. After cutting, smooth the holes with a metal file or sandpaper to avoid injuries and ensure a clean fit.
-
Next, insert the bulkhead fittings from inside the tank, then tighten the outside nuts securely to form a watertight connection.
Pro Tip: Make sure the rubber washer is positioned inside the tank. This creates a tighter seal and prevents leaks once water pressure is applied.
-
Then, apply a generous layer of waterproof silicone around each fitting — both inside and out. This adds an extra layer of leak protection. After sealing, be sure to let the silicone cure for at least 24 hours before introducing water or connecting the pump.
Pro Tip: Even if it looks dry, give it the full 24 hours. A little patience here will save you from redoing the entire process later.
Step 4: Fill the Pool & Set Up Your Pump
Once you’ve sealed all the fittings and placed your stock tank in its spot, it’s time to fill it up with water. Grab your garden hose and let it flow — depending on the size of your tank, this might take a couple of hours, so be patient!
Next comes the pump setup, which is key to keeping the water clean and circulating properly. Start by positioning the pump nearby; it should sit on a stable surface and be close enough to reach both your tank and a power source. Then, connect the hoses from your stock tank’s intake and return fittings to the pump, making sure to follow the manufacturer’s instructions.
Once everything is in place, plug in the pump and power it on. You should hear a gentle hum and see water circulating through the system. If you spot any leaks, go back and double-check your seals and fittings to ensure everything is watertight.
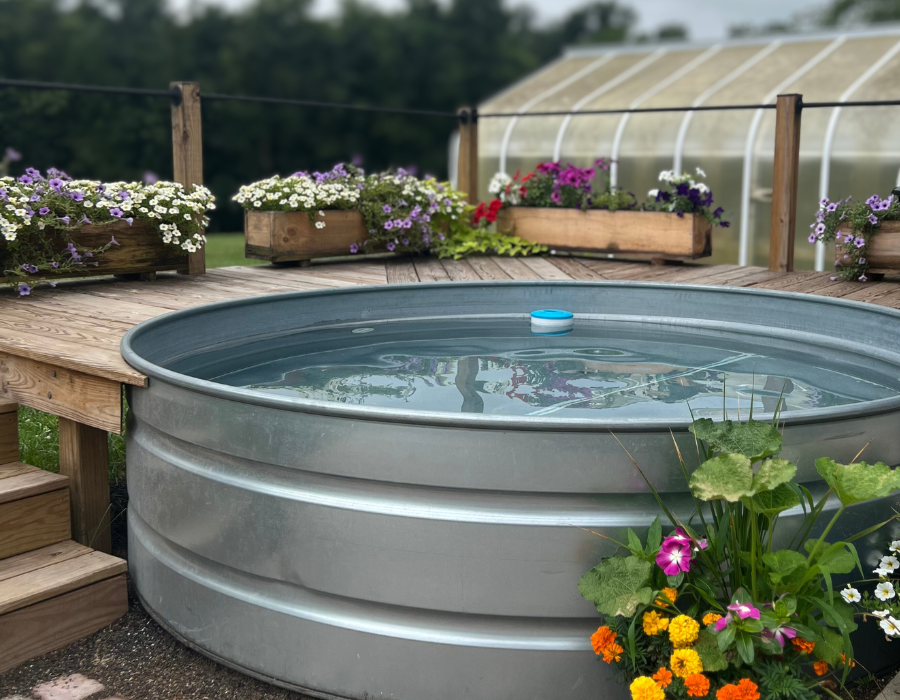
Finally, if you’re using chlorine or bromine for sanitation, add the recommended amount to the water. A floating dispenser works great to keep things evenly distributed. This step helps maintain fresh, clear water — perfect for those spontaneous, stress-free summer dips.

Step 5: Style Your Space
Now for the fun part — making your stock tank pool the perfect backyard retreat.
-
Add outdoor lights or lanterns for evening vibes: I hung my favorite string lights around the pool, which let the party keep going well into the night. Soft lighting creates a cozy, inviting atmosphere perfect for late-night dips and chats.
-
Toss in a your favorite colorful floaties
-
Place a table or tray nearby for drinks and snacks
-
Surround with plants, seating, or a DIY deck
-
Set the mood with a waterproof Bluetooth speaker
Long Fence has delivered dependable, quality service to customers in Northern Virginia, Maryland, and the Washington, D.C. metro area since 1945. When you work with Long® Fence, you work with experts who have hundreds of years of combined experience in residential, commercial, and governmental projects. They are here to help you complete your next project and get you one step closer to your dream, outdoor space.

Mary Lawyer
Mary Lawyer is the content manager at Sass Magazine with a passion for storytelling and creativity. When she's not crafting engaging content, you can find her lifting weights, getting her hands dirty in the garden, or hunting for hidden gems while thrifting.












Subscribe so you don’t miss a post
Sign up with your email address to receive news and updates!